 I have a love/hate relationship with the IvyDE plug-in when it comes to WTP project types. I have literally wasted hours of time trying to get IvyDE to publish into my web application. It is very strange, no pattern at all; it works fine for days at a time and then decides to stop working… I don’t believe that the team has actually developed a “reproducible pattern” of forcing WTP to publish the Ivy dependencies; it is a continual “trial and error” of the following steps, clean the project, Ivy resolve, clean Tomcat, un-deploy the application, redeploy the application; one of these will eventually cause WTP to push the dependencies over. Can you say, frustrating?
Some developers just give up and use Ivy retrieve to dump the dependencies into the WEB-INF/lib directory; this will work, but is not a very elegant solution. To make this work, you are required to refresh the workspace after the Ivy resolve/retrieve completes, which pushes the dependencies into the web application; nasty.
 This problem may have been answered in Eclipse 3.6 (Helios). I tested some of the 3.6 milestone releases, but was fooled into thinking that the IvyDE and WTP integration was broken; the J2EE module dependency option was no longer visible on the project properties. I was too busy to investigate (or look at other menu options!), I just assumed that it was just broken. To make a long story short, there is a new menu option called Deployment Assembly. The new option is a much simpler concept to comprehend; it is more flexible and actually seems to work consistently with Ivy. The most obvious change is the presentation; it gives a better picture of how the web application will be assembled. The old J2EE Module Dependency manager allowed you to choose components, but might have been more tailored for building an EAR file, rather than a WAR. Another issues is the inability to exclude any of the “source” folders. If you manage your unit test classes in a separate source folder, they would also be included in the application (WAR). Not necessarily a problem, but not very clean and could possibly hide unintended dependencies between the two source trees.
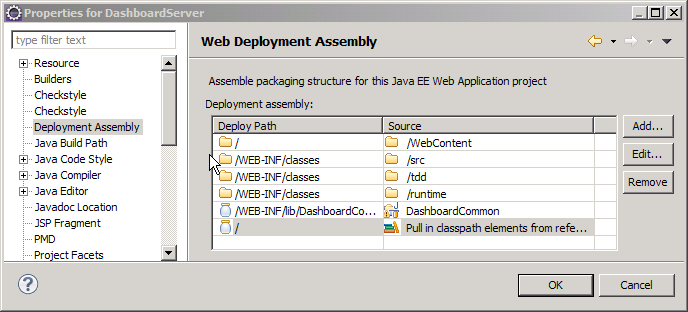
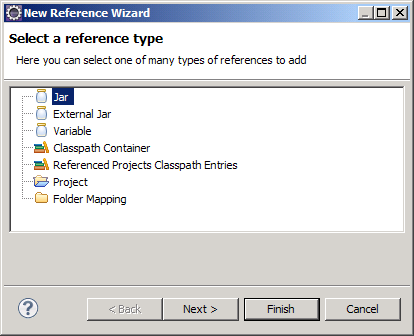
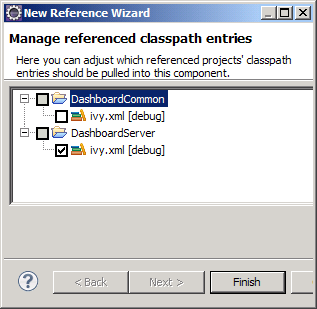
 When using IvyDE, the first step is to add an Ivy classpath container. This will add Ivy dependencies to the classpath of your Eclipse project. If you have a WTP project, you will also need these dependencies copied to the WEB-INF/lib directory. This is easily accomplished by clicking the Add button under Deployment Assembly (under project properties). You can add other projects and external jars as well. Here is where it gets interesting, there appears to be two different options. If you have already added the Ivy classpath container to your build path, click the “Referenced Classpath Entries” option and select the ivy.xml file from your project. There might be a little display problem, as the “Deploy Path” for the classpath container does not appear correct, but it does put the libraries in the correct directory location.
The second option is to remove the Ivy classpath container from the build path, and re-add it under the new Deployment Assembly properties. This option displays properly and copies the dependencies to the WEB-INF/lib directory. I actually prefer this option, but there is a significant problem; there is no way to re-resolve the dependencies; it appears you need to delete the container and re-add it, if you change your ivy.xml file. Rather annoying!
I started writing this blog a couple of weeks ago and was under the impression that the new version was working perfectly. However, I’m currently back to where I started, with inconsistent, unexplainable behavior. Time to submit a question to the Ivy support list. Hopefully, I will have something to report back soon.


